So now the real work begins – getting everything back into place. I have two, count ‘em, two storerooms to clean out! That alone may take the rest of the summer break…
One of the first things I’ll do to take my mind off those storerooms (did I mention I can be the Queen of Procrastination?) is to attach table cards to the tables. I use Harry Wong’s (author of First Days of School) technique of assigned seating from Day One. Helps w/focus that first day when you have so much info to cover.
Students are greeted at my door (they ALWAYS line up outside & wait for permission to enter) and after my initial introduction, are given a card. They are directed to find the matching card that is attached to a table & sit at that place for today’s class.
Over the years I’ve used a variety of card designs to assign seats. Years ago, I assigned a different artist for each table group. The teacher-made, laminated cards (approx 2” x 3”) had a portrait of the artist along with A, B, C or D designation. Once students found their seat, they put together a laminated puzzle (again teacher-made) of that artist’s work. I followed up with a class discussion about the artists and their work.


Nowadays, I streamline the process by using playing cards (no need to laminate!) – two decks will take care of everything. Table 1 has an Ace attached with clear Contact paper in every corner of the table with a different suite (club, heart, diamond, spade) at each place designating a position. Table 2 has the twos and so on until all 8 tables have cards. Not as ‘artsy’ but it leaves me time in that first class to go through the rules, consequences, safety info and a 2D assessment drawing. Time is more precious in these days of pacing guides…
Here’s my secret on passing out the cards – designate one card (position) from each table as a ‘marked’ card. Choose a position that is easy for you to see no matter where you are in the room. I put a small black dot on these cards and keep them on the bottom of the deck I use to pass out. When I see kids having difficulty focusing (due to behavior) during my ‘meet & greet’ routine while lined up, they get a marked card, dealt from the bottom of the deck. This assures that there is no more than one potential problem at any single table. It’s not foolproof but is much better than random selection. Surprisingly, I rarely, if ever, have students switching cards after entering. Everyone is so busy trying to find a match that there isn’t time to see where everybody else is going and make trades…
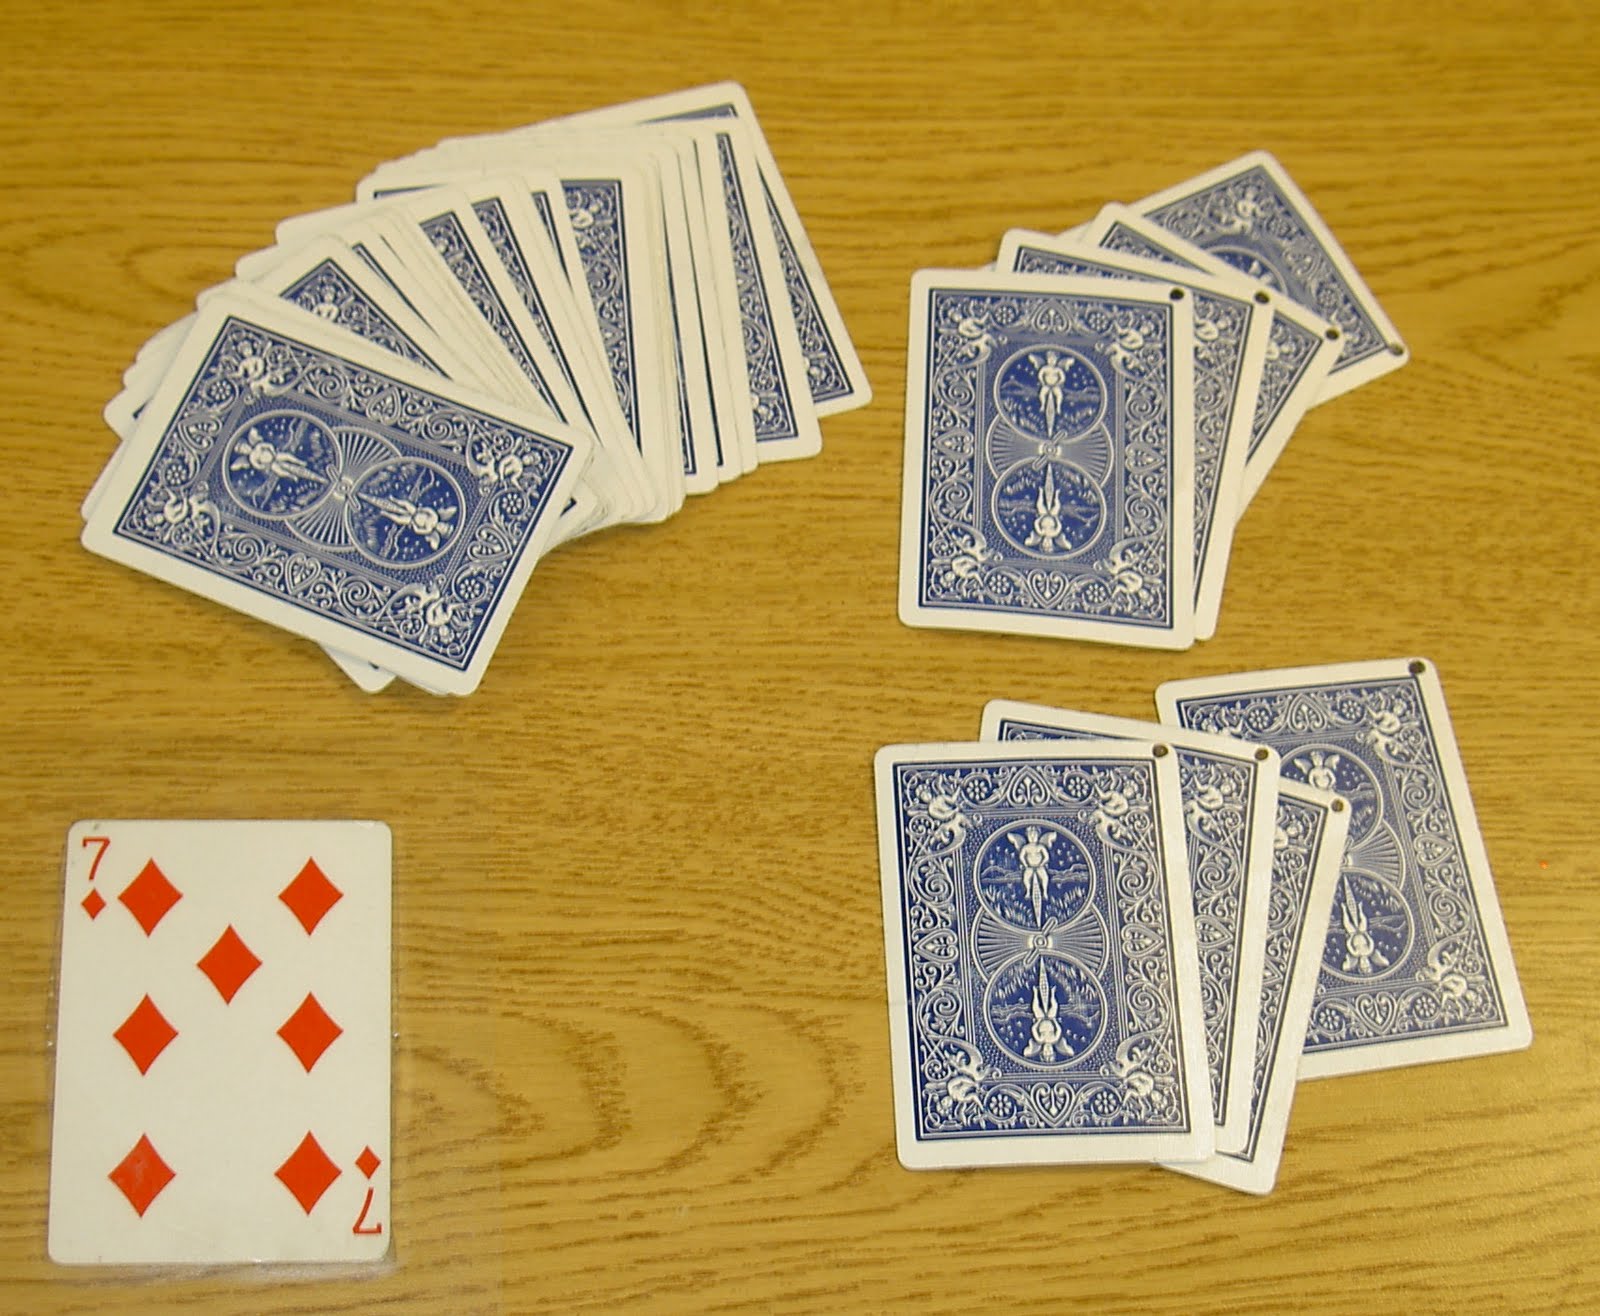
The card in the lower left hand corner of this pix has been attached to the table. The other cards shown are those given out to my students – the marked cards have a small black dot visible in the upper corner.


.JPG)


No comments:
Post a Comment