I love, love, love radial symmetry! The repetition, the pattern, the symmetry!!!
What better example than mandalas -
"its symbolic nature can help one 'to access progressively deeper levels of the unconscious, ultimately assisting the meditator to experience a mystical sense of oneness with the ultimate unity from which the cosmos in all its manifold forms arises.'"
With my 5th graders, we started with a PowerPoint presentation of mandalas and discussion of their meanings.
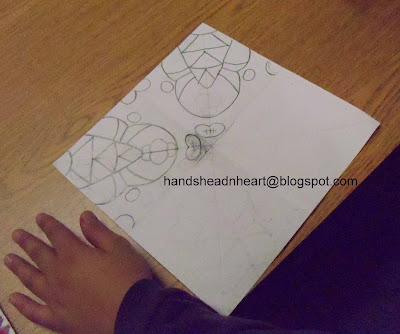
Then we began our drawing on a square of white drawing paper, folded into 8ths. On a 1/8th section draw a simple design of 2 - 3 kinds of line, with 1 - 3 simple shapes. Lines should touch the edge of the space or a shape. Try to avoid small spaces that would be difficult to paint. For older students, you can direct students to choose a specific, simple object. I've done a rainforest theme w/6th graders with the kids choosing an animal/reptile along with plant life. Simple shapes, little detail.
At this point, I have the student check in with me because if they have folded the paper incorrectly, the resulting design will not be an example of radial symmetry.
After the initial drawing, I demonstrate how to refold the paper so that the student can rub the end of the pencil on the
back of their drawing and transfer the design onto the next section. They trace the transferred work and continue to rub/transfer and trace until the pattern has repeated all the way around.
Once the drawing is done, there is a hands-on demo of painting procedures. Students begin painting largest area with a
hue. Each student in a class has the same hue, with different classes - different hues. Makes it easy to sort & put way work once it's dry.
In successive classes, they begin to add
tints,
shades &
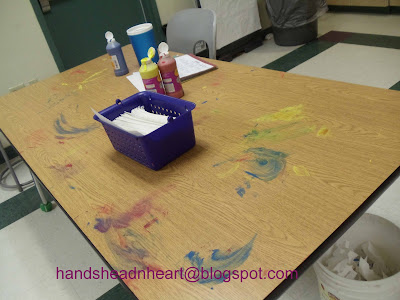
tones of their hue. I add a drop or two of white or black tempera on a small plastic lid and they add the hue. All mixing is (hopefully) done on the lid, leaving the cups of hue at each table unchanged.
Although we aren't quite finished yet, I couldn't resist showing off some of their 'in-progress' paintings.


