Showing posts with label 3rd grade. Show all posts

Sunday, September 30, 2012

Art Activities: Paper Airplanes


The Open Studio held in my artroom before school has a smaller crowd these days - weather is getting nicer so more students head straight for the playground nowadays. (The true measure of Fall in Phoenix is driving to work without the AC on.) That's okay - gives the rest of us a quiet space to do artmaking and gets our creative juices flowing.

A small group of boys that visit most days are enthralled with paper airplanes.


Last year, I used a rather grown-up paper airplane book that had fancy decorated papers included. Unfortunately, it was written on an adult level and the designs required more dexterity than little hands could manage. So I ended up making the planes during Open Studio & they ended up flying them. Not exactly what I had in mind...

This year, I started looking for more kid-friendly designs. Books are great but I knew I'd have several wanting to do the work at the same time so I turned to Pinterest for websites or blogs that could help me out. Bingo!


This site
has well-written directions (functional/instructional text) and easy to follow diagrams showing the step-by-step process. My third graders occasionally stumble over a word (orient - to align or position) but for the most part are able to work completely independently.

They have mastered all the basic designs and are moving on to intermediate constructions. I make copies of the printed instructions which go in a binder on the activity counter. Basic plane directions are printed on white paper and placed in a page protector. Intermediate and advanced plans are printed on colored paper to distinguish the different levels. Copies of the airplane templates are kept in folders on my desk. I provide one at a time so there's very little waste.


I was thinking this would be a great whole class project for a sub but for now we'll develop our skills in small groups...

Friday, September 28, 2012


It's been a busy week... Shape Man with kinder and 1st...
Jasper Johns-inspired painting with symbols underway...
Jean Dubuffet self-portraits in the home stretch...
Zentangles with 4th graders coming along nicely...
a few 5th graders finished with their Op Art/value studies inspired by a lesson from Mr. E's blog...
One more week (parent conferences week) then Fall Break - Woo Hoo!!

Wednesday, April 4, 2012

Gearing Up for Annual Art Show

Late nights every day this week as I scramble to get projects ready for our art show.

I did a quick load of Wabi Sabi pots yesterday.


A few of the 3rd graders need to come in at lunch to finish glazing their coil pots...


while 2nd grade artists need to do the same with their effigy vessels.


Ceramic dragons were painted with watercolors so no kiln necessary - woo hoo!


And after all that, I have to select, mat, tag and fill my six-sided panel with an assortment of our 2D work, including some Blue Dog paintings.


Show opens on Monday, should have pix posted by the following weekend. In the meantime, you can click on '2011 art exhibit' in my labels section to the right to see last year's work!

Thursday, October 13, 2011

AAEA state conference

Heading up north today to Pinetop, AZ for our state conference. While the desert may get up to the triple digits -AGAIN- this weekend, we should be having much more fall-like weather in the tall pines.

I'll be presenting a hands-on workshop demonstrating Dubuffet-style self-portraits. I just finished putting up a bulletin board of my 3rd graders latest efforts in our District office board room:


The lesson plan along w/ a PowerPoint and accompanying docs will be posted on the AAEA website soon, along with other lesson plans featured at the conference. I'm going to set aside hard copies of everything I use at the workshop - including a set of vocabulary cards for one of my blog visitors. If you're interested, leave a comment. I'll choose a winner from those who post between now and a week from now...

Sunday, May 29, 2011

Finishing A Woven Pouch

A few of my students met the challenge of finishing their woven pouch before the end of the year. We really needed one or two more full class periods for the majority to complete their work. I may get a few more this week since 4 3rd grade classes will meet this week. I had a request from Angie to explain how I finish so I took some pix to help explain.


1. Weaving must fill the short side (front) and long side (back) completely - pack tightly so no warp threads show.


2. I weave a locking stitch for final row - this is done under the top row. Older students could do this themselves.


3. Demonstrate to the student how to 'pop' off the loops of warp along both top edges with the needle. Younger students can do this themselves.


4. Remove the longer warp on the edges and clip in half. Slide off cardboard loom.


5. Turn inside out.


6. Weave ends into pouch.


7. Ta Da!


In years past, I sewed a button on the front with a yarn loop for closure but faced with more than 170 pouches to finish, it was a daunting task...I've opted not to do it the past 2 years and the kids are just as happy with the tuck in flap. Students with a savvy sewer at home often get a fancier closure after taking the pouch home.

Tuesday, May 17, 2011

Weaving in the Artroom - No Muss, No Fuss!

Third grade has started on their woven pouches and I'm a-hoping and a-praying that we can finish before the last day of school. Here are some pix of finished pouches from last spring...


The looms were cut and labeled...


warped and folded...


and some have started to weave....


Students will use yarn for their weft and yarn needles to speed the weaving along.
The safety rules for the needles are:

1. If you use it like a weapon (even pretending) it's a quick trip to the office & you will have to weave only w/your fingers.

2. I put the needles on the table, I pick them up at the end of class.

3. Do not walk w/needle in hand - tuck it in the pouch if you need to get up to show me your work.

Of course, I count the needles back in at the end of every class which reduces the chance that any needles 'walk' out the door! I ask the students to limit their colors of yarn to 5 - this ensures that even if we run out of one or two of their colors, there are still other possibilities. I pre-cut the yarns into approx. 30"-36" lengths to save time - I wrap several colors of yarn around the end of one of my 3' wide tables and then cut...

Here's hoping we finish before our last day on June 2nd...

Saturday, May 14, 2011

Letting Go

This time of year, I have a bit of separation anxiety as I return the last of this year's projects to the kids.

This student has been thrilling me with her artistic talents since kindergarten...

now she's a 5th grader and on her way to middle school next year.

One of the benefits of this job is seeing creative one-of-a-kind artworks-

this from a 3rd grader

and a pinch/pull technique ceramic fish from a 2nd grader


and one of my favorite 1st grade animal sculpture - with its habitat!


I wish I could keep them all...
but considering the chaos in my disaster zone (previously known as my storeroom) maybe not...

Friday, March 25, 2011

7 classes & 200+ pots...

My third graders read the book "The Pot That Juan Built" and are finishing their coil pots. I LOVE coil pots but with 7 groups of 3rd graders - that's a LOT of pots to keep track of so...

Each class uses a different shaped base so I can differentiate if they get mixed up (and trust me - they always do!).

Every student gets a construction paper shape in a different color - they use this as both a name tag and a template to cut around for their base.

So we have yellow circles


gray squares


pink triangles


light blue rectangles


white ovals


beige diamonds


long tan rectangles.


Glad I don't have EIGHT groups...

Tuesday, February 1, 2011

Thoughts

Today is my last day of sick leave and I'll be heading back to the classroom tomorrow. I've been fortunate to have had 2 very competent subs while I've been gone so it won't take long to get back into the swing of things.

Most grade levels have to finish up work we started before my surgery so lesson planning won't be too difficult.

First graders will use their crayon rubbings to create an imaginary animal in its habitat.


Artists in 2nd grade will start to add final details on their Blue Dog paintings - can't wait to see what they come up with!


Both 3rd and 4th graders have to pull together their prints made previously, assemble them according to the edition numbers and complete the self-assessment rubric.


Fifth graders will soon start on their ceramics - a Wabi Sabi pot (hope I spelled that right...). I took a great hands-on workshop at state conference last fall on the subject and thought it would be perfect for them !

I hope all of you out there enduring the Snowpocalypse make it through the next few days days warm, dry and safe from accident or injury! Most of my immediate and extended family is in the direct path so even though I'm sitting here with the sun shining through the window my thoughts are with those in the Midwest right now. Enjoy your snow days!

Sunday, January 2, 2011

Self-Portraits in the style of Jean Dubuffet

Earlier this year, I wanted something new to get across the differences in directional LINE (horizontal, vertical, diagonal) for my third graders. In the past, I used the many wonderful works of Mondrian to teach horizontal & vertical lines but as much as I LOVE the results, I was ready for a change.

I was reading through my weekly email from Art Knowledge News when I ran across an example of the work of Jean Dubuffet. His work intrigued me and his self-portrait had just what I needed!


The materials for this project are simple: 12"x18" white drawing paper, pencil and eraser along with colored markers. It's a lengthy project - at least for me as I have 45 min. classes held once a week. But the results were wonderful!


To start the project, I created a Keynote presentation/slideshow of Dubuffet's work. We discussed his use of LINE (straight, curve, angle, broken), SHAPE (organic, geometric) and COLOR (predominately black and white with a few other colors).

Following the intro discussion, we began the self-portrait using pencil. Students were instructed to draw a large oval shape with curve lines to designate neck and shoulders. To ensure that the head size was large enough for the detail work to come, I checked each drawing closely at this stage and had the students make size adjustments where needed. Next up was basic portrait proportions while referring to Dubuffet's style. So the eye, nose, mouth shapes were similar to his while reflecting the student's own facial features. Hairstyles were added along with a personal clothing/shirt choice.

Next up - using line, students divided the open SPACE to show Dubuffet's style once again. Watch closely at this point - most got carried away and needed some time for erasing.

When the pencil drawing has been assessed and corrections made, students traced all pencil lines with a black marker.

FINALLY we got to the best part: COLOR!! Following Dubuffet's example, my kids chose a limited palette - adding only 3 colors to the black (marker) and white (paper). At least that was my direction but, as usual, some got carried away and used just about all the colors in front of them! Next time, I'll eliminate the temptation so they only have their 3 color choices in front of them.

In addition to using those directional lines, they also had to BALANCE the striped areas with both solid and white spaces to show UNITY throughout their work as did Dubuffet. This was the hardest part for 3rd graders - next time we'll slow down and spend some time clarifying and modeling correct balance...

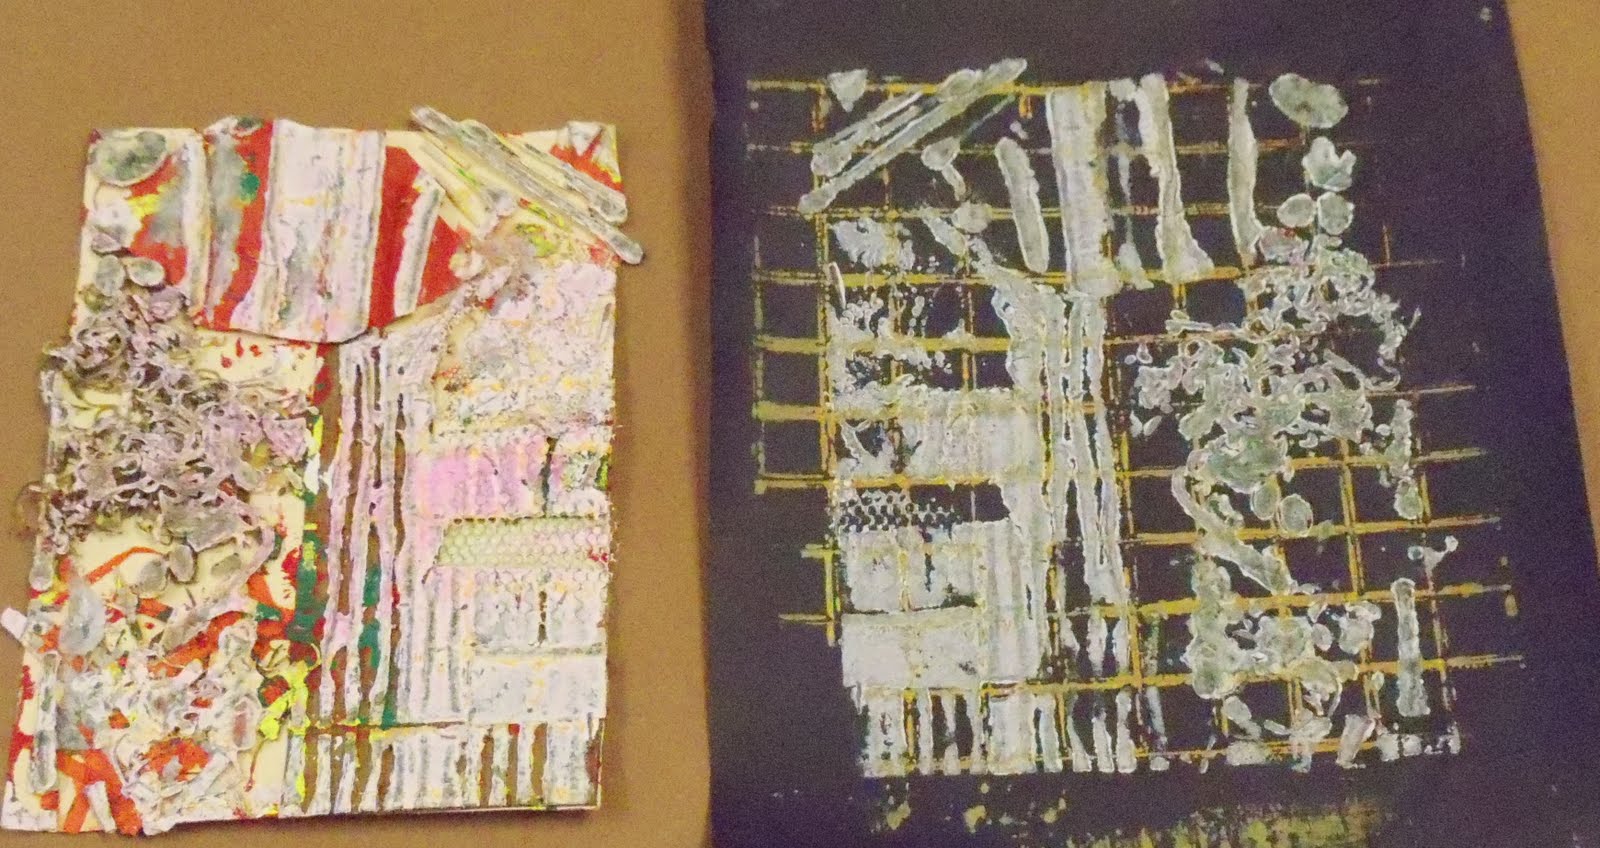
Once the drawing is complete, it's cut out and glued to a black 12"x18" background.
We packed a lot into this project and the kids were quite proud of their work when all was said and done!


As usual, students added their own unique twists to the requirements (in spite of my specific directions to the contrary, in some cases) and I loved the results (in most cases). They've given me some new ideas for next time around...There were enough excellent successes to completely fill our office bulletin board. This project is definitely a keeper!!!

More Elementary Art Blogs